# How do I connect a REST API source?
### **Overview**
Lets you pull data from any external system with a REST API (ERP, CRM, HRMS, IoT). Syncs automatically on a schedule — no manual re-uploads needed. Uses a Connection → Dataset → Run model: one connection, multiple datasets, each sync tracked as a run.
### **When to Use**
Use this feature when:
- You want live data from a CRM, ERP, HRMS, or IoT platform
- You need dashboards to update automatically on a schedule
- The API supports incremental updates (cursor or date filter)
- You want to combine external data with Converse forms
### **Concepts**
- **Connection** – Saved link to an external API with base URL and encrypted credentials
- **Dataset** – A specific API endpoint with its own schedule, pagination, and mapping
- **Run** – A single sync execution; tracked as running, success, partial, or failed
- **Sync Schedule** – How often a dataset syncs — interval in minutes or a cron expression
- **Cursor** – High-water mark that tracks the last synced record for incremental sync
- **Date Tokens** – Placeholders like {today} or {yesterday} resolved at sync time
- **Pagination** – How Vantage walks multi-page API responses (page, offset, cursor, link header)
- **Import Strategy** – Append, Replace, or Upsert — how new data is written into the source
- **Auto-Disable** – Dataset disables itself after 5 consecutive failed syncs
### **Set Up Guide**
Open Vantage from the Vantage Dashboard widget on the Home Page.
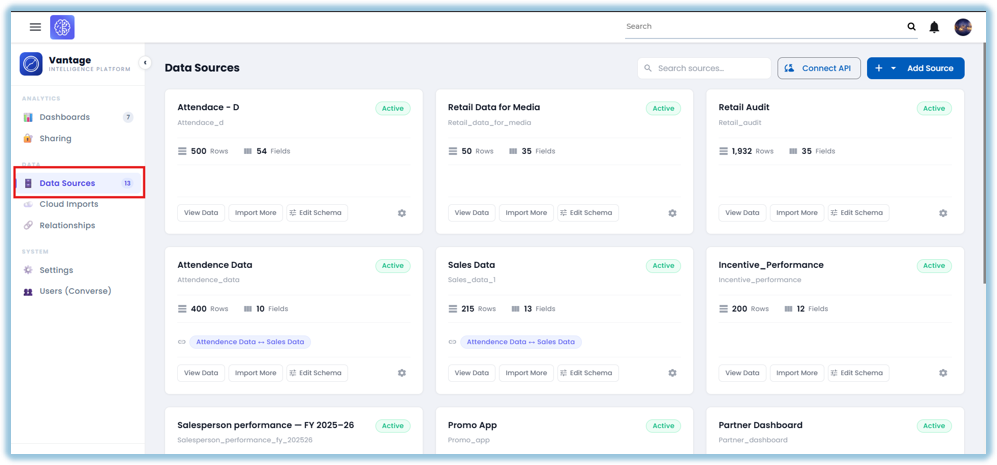
1. Go to Data Sources
2. Click **Connect API
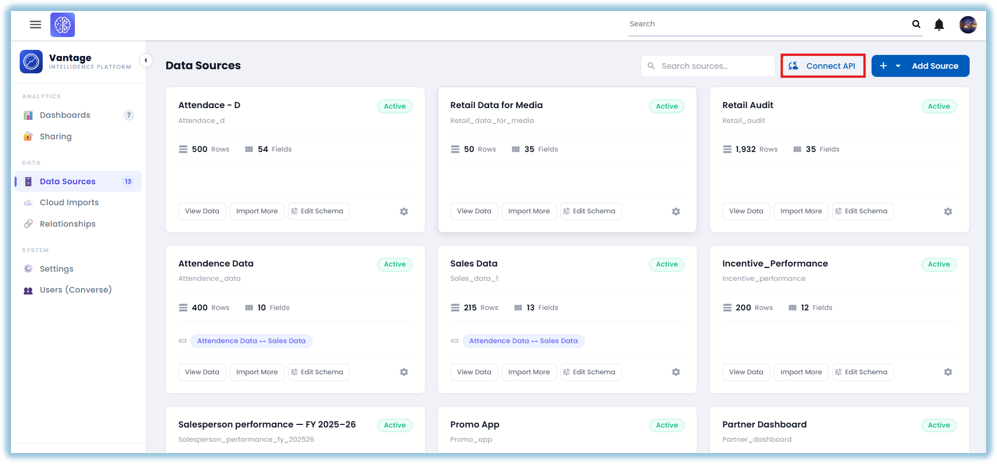**
3. Click New
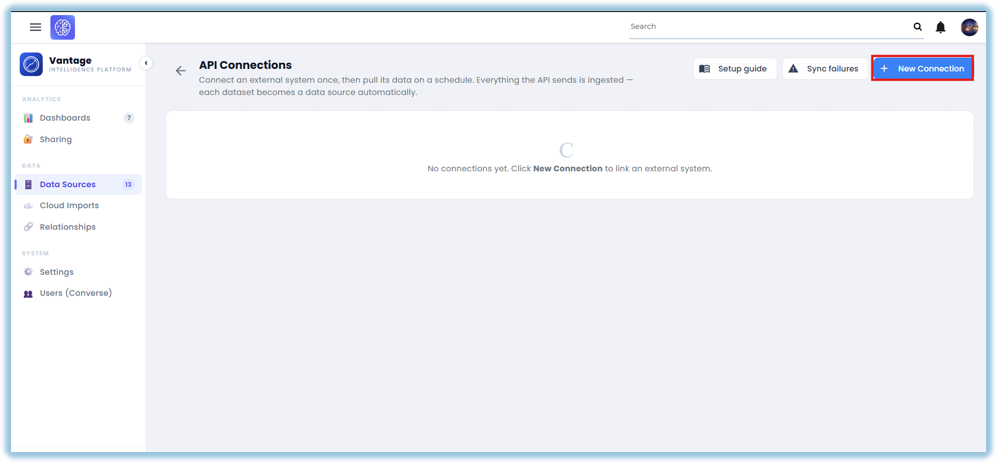
4. Enter the base URL
5. Add credentials (API key, token, or basic auth)
6. Click **Save** to create the connection
7. Click **+ Add Dataset** → enter the endpoint path and parameters
8. Configure pagination
9. Set the sync schedule (interval or cron) and time zone
10. Choose the import strategy — Append, Replace, or Upsert (Upsert needs a key field, so pick which column uniquely identifies each row)
11. Review the column mapping \[TODO: confirm this screen exists — not found in the audit\]
12. Click Save — the first sync runs at the next scheduled check (within 5 minutes), or click **Run Now** to sync immediately
### **Best Practices**
- Use a cursor or date token for incremental sync
- Match the sync schedule to how often the data actually changes
- Test with Run Now before enabling a schedule
- Use Replace for full-snapshot APIs, Upsert for changed-records-only APIs
- Keep credentials at the connection level so rotation updates all datasets
- Monitor Sync Failures — 5 consecutive failures auto-disables the dataset
- Enable pagination with a reasonable page size for large responses
### **Related Links / FAQs**
Related pages in this book:
- How do I connect an Excel or CSV file as a data source?
- How do I connect internal Converse forms as a data source?
- How do I view and edit data in a source?
- How do I create a relationship between data sources?
##### FAQs
What response formats are supported?
JSON, NDJSON, XML, CSV, and TSV.
Can I connect to an API that requires OAuth?
Only via a token — browser-redirect OAuth flows aren't supported.
What happens if a sync fails?
The run is marked failed and the cursor doesn't advance; after 5 consecutive failures the dataset auto-disables.
Can I have multiple datasets on one connection?
Yes — they share the base URL and credentials but each has its own schedule and settings.
What are date tokens?
Placeholders like {today} or {month\_start} that resolve to real dates at sync time.
### **Version Notes**
Last Updated: Oct 2026