# How do we create a form with AI
### **1. Overview**
This feature allows administrators to create a form by describing the required fields in plain text and letting AI generate the form structure, which can then be reviewed, edited, and saved before assigning it to users.
### **2. When to Use**
- When you know what information needs to be captured but don’t want to build the form manually
- When you want a quick starting structure that can be edited later
- When creating draft forms before assigning them to users
- When experimenting with different form layouts before finalizing
### **3. Concepts**
- **Forms** – The section where all draft and published forms are managed
- **Generate with AI** – An option to create a form using a text description
- **AI Prompt** – The text input where form requirements are described
- **Form Builder** – The screen where generated fields can be edited
- **Draft Form** – A saved form that is not yet assigned or published
- **Add Users** – The step where users are assigned to the form
### **4. Set Up Guide**
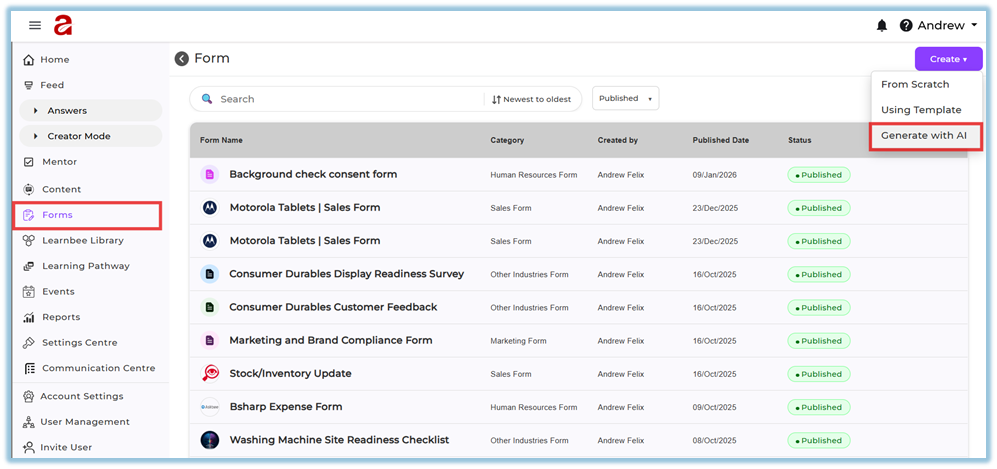
1. Open the **Forms** section from the left menu.
[https://converse.bsharpcorp.com/form\_builder](https://converse.bsharpcorp.com/form_builder)
2. Click **Create** in the top-right corner.
3. Select **Generate with AI**.
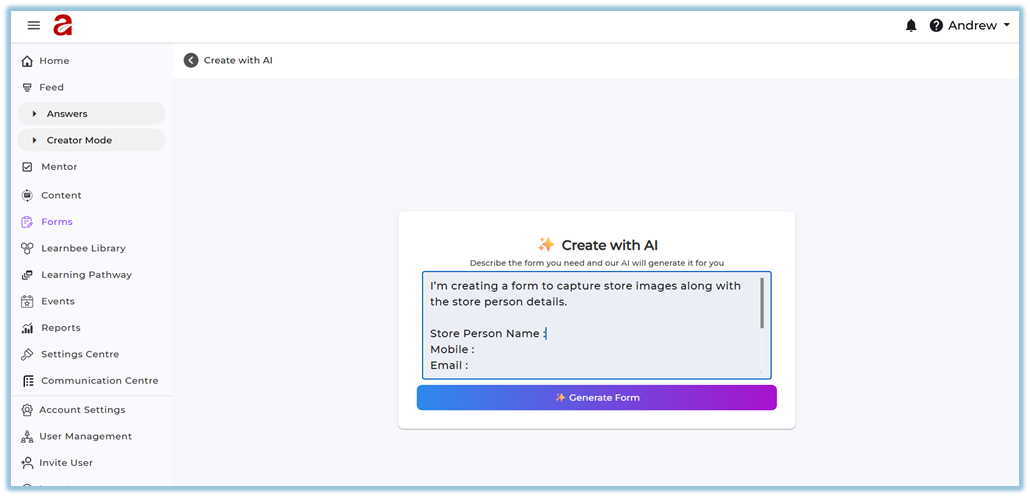
4. Enter the form requirements in the text box, listing the fields needed.
5. Click **Generate Form**.
6. Review the generated form in the Designer view.
7. Edit fields if required.
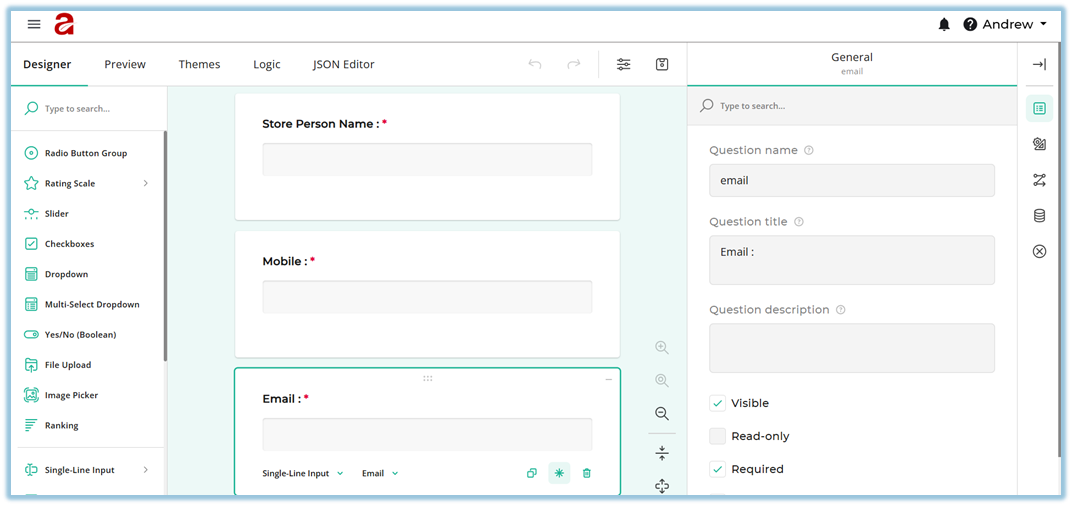
8. Click **Save** after completing edits.
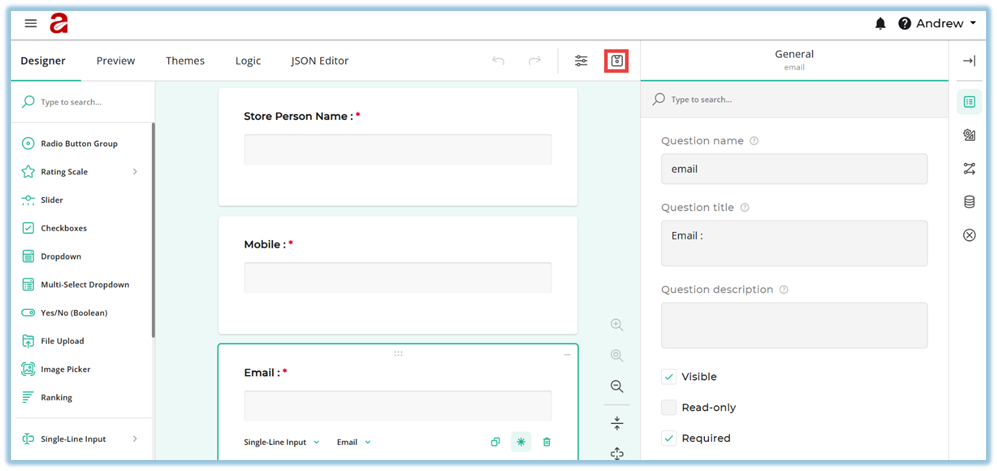
9. Return to the **Form details page**, where **Build Form** is completed and **Add Users** is available.
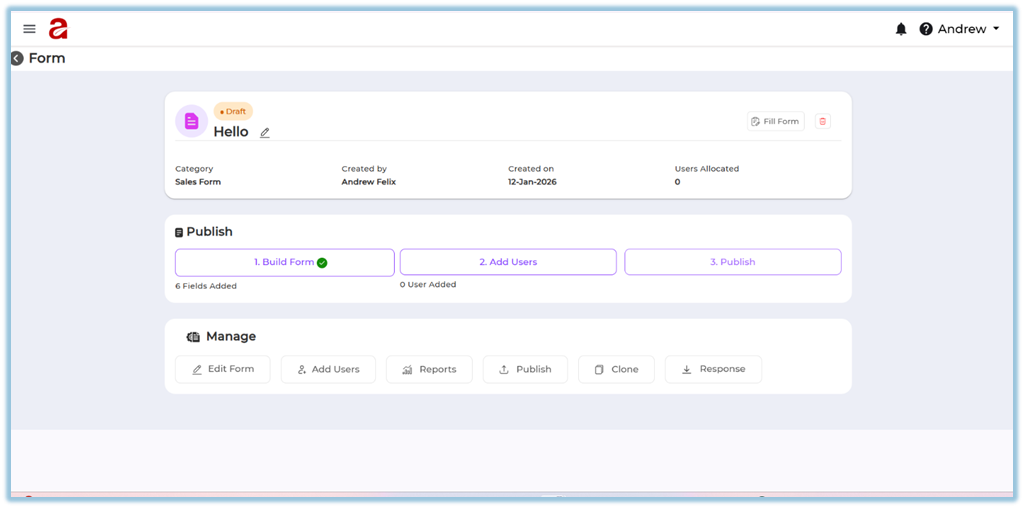
10. Select **Add Users** to assign users individually or by attributes.
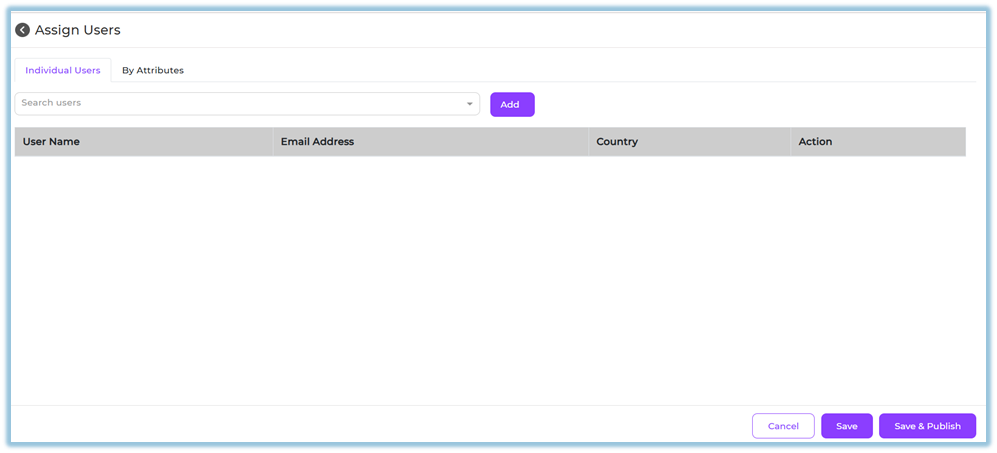
11. Click **Save** to keep the form editable, or **Save & Publish** when ready.
### **5. User View**
If the form is assigned to users, it appears on the **Home page** under the **Forms** section. Users can scroll down the Home page to view and access their assigned forms.
### **6. Reporting**
- **Form Reports** show submission status and responses
- Reports can be accessed from the **Reports** option in the form’s Manage section

### **7. Best Practices & Tips**
- Be specific when describing fields in the AI prompt
- Always review AI-generated fields before saving
- Save the form as draft if changes are expected later
- Assign users only after validating the form structure
### **8. Troubleshooting / FAQs**
**Q: What happens when I click Save after editing the form?**
The system redirects you to the **Form details page**, where you can proceed to **Add Users** or publish later.
**Q: Can I edit the form after publishing?**
No. Once published, the form cannot be edited.
**Q: Can I save without publishing?**
Yes. Saving keeps the form in draft mode and editable.
### **9. Version Notes**
Last Updated: 12 Jan 2026