
Badge Setup
Badge Setup allows you to customize and manage automated recognition badges sent by the Bsharp Converse bot.
Getting Started with Badge Setup
What is Badge Setup?
Badge Setup helps you define, manage, and personalize digital recognition badges awarded to team members, enhancing employee motivation and celebrating achievements.
Step-by-Step Guide: Setting Up Badges
1. Select Who Can Give Badges:
-
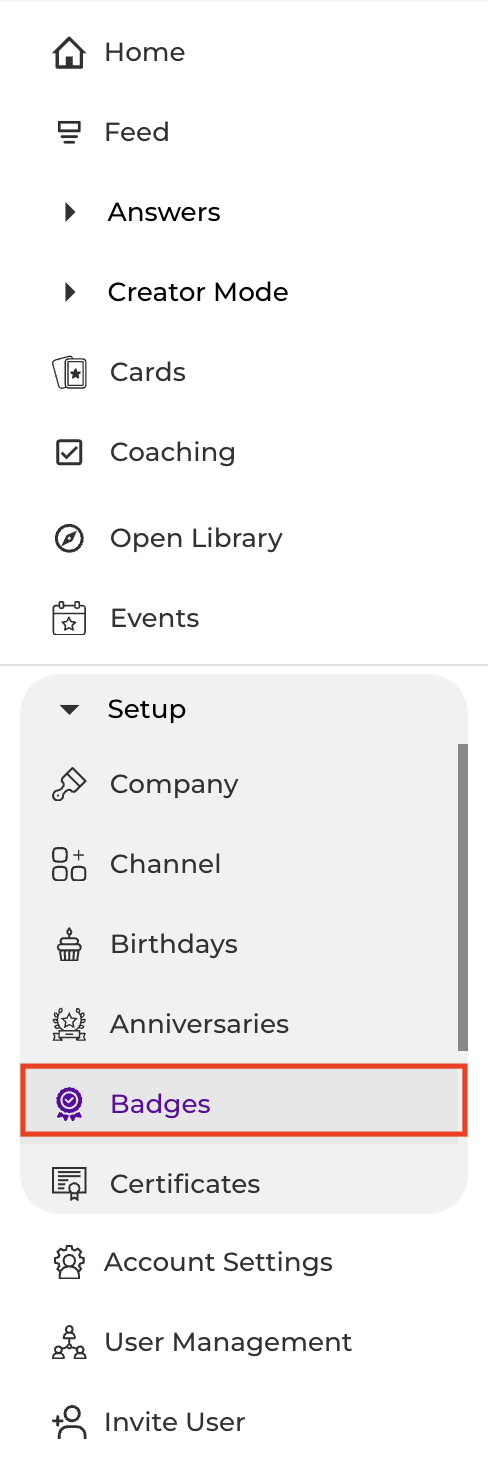
Navigate to the Badge Setup section on the left side pane.
-
-
Choose who can give badges:
-
Anyone can give a badge.
-
Only nominated users can give badges.
-
-
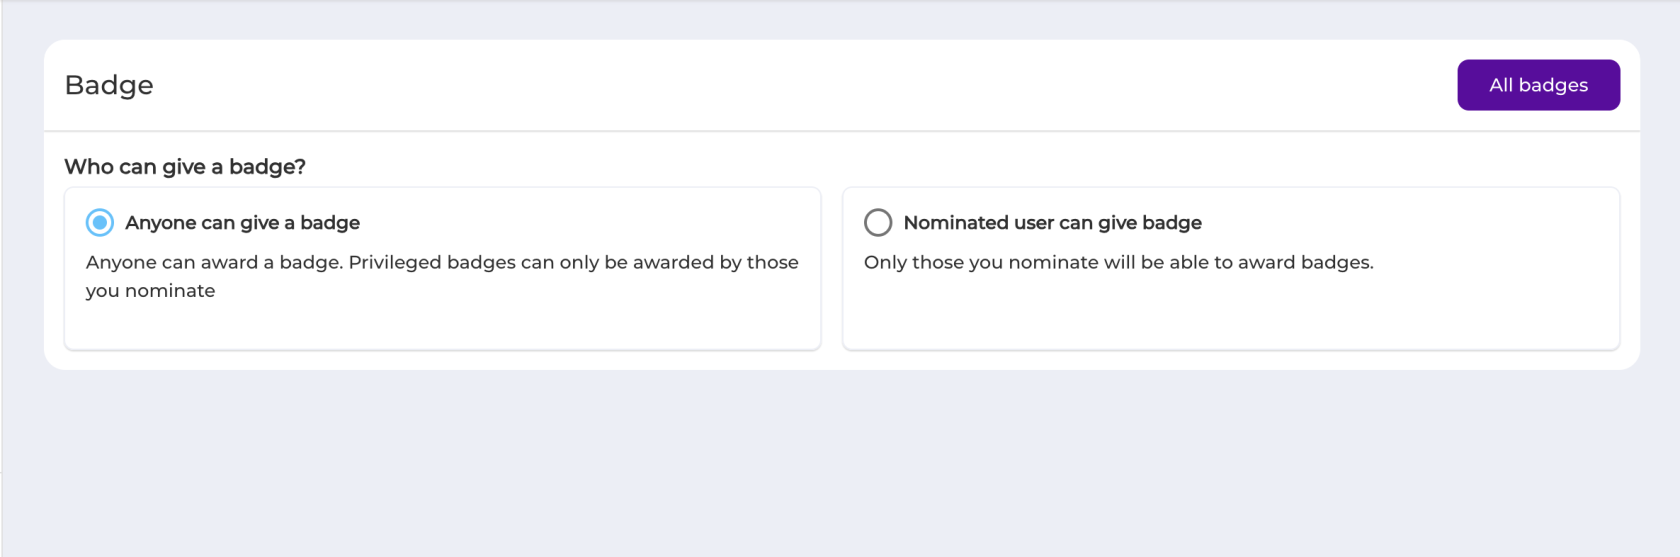


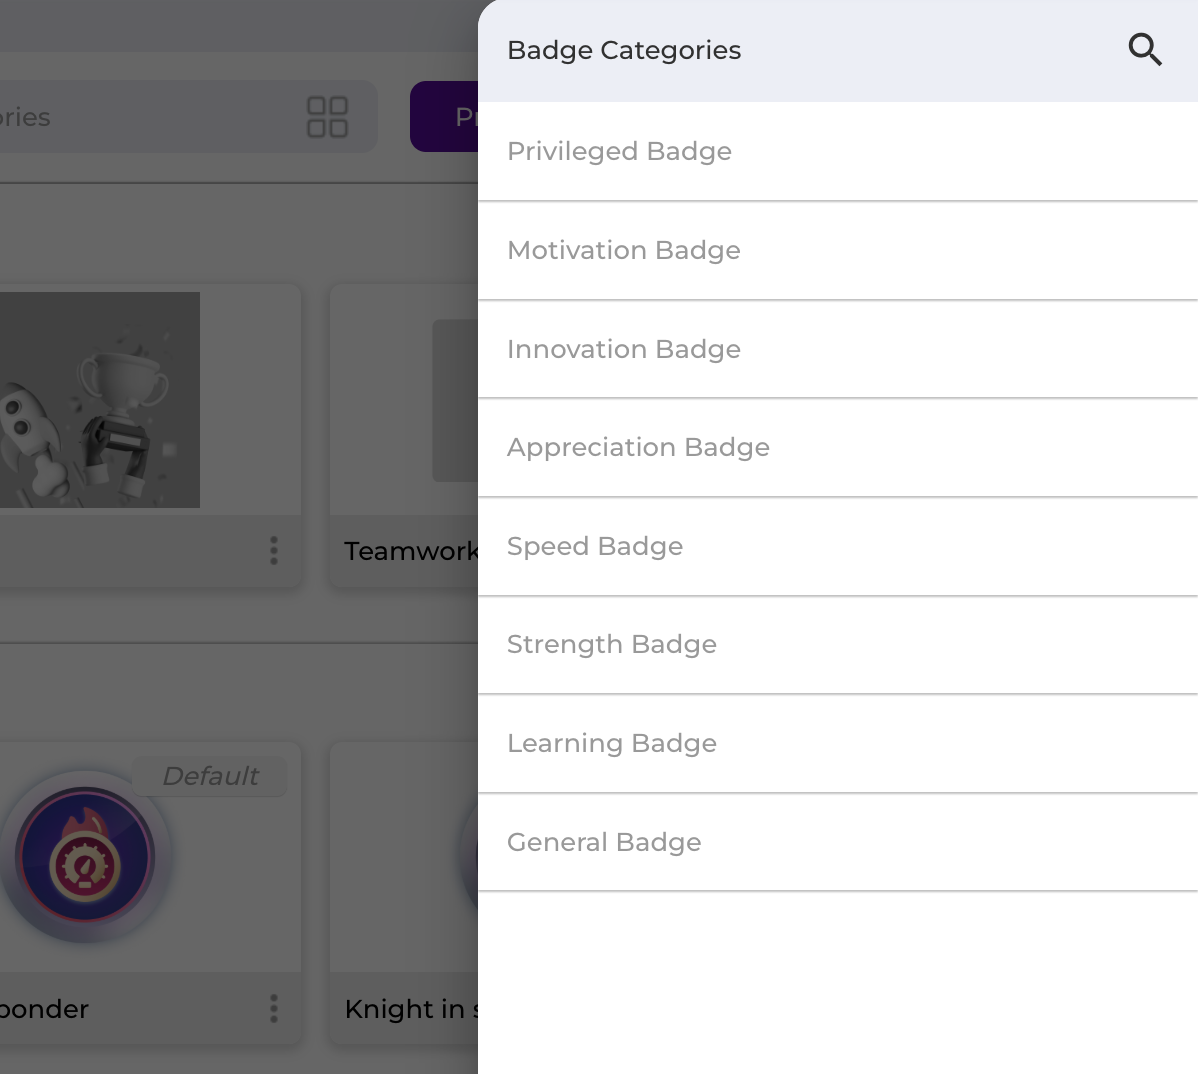
2. View and Manage All Badges:
-
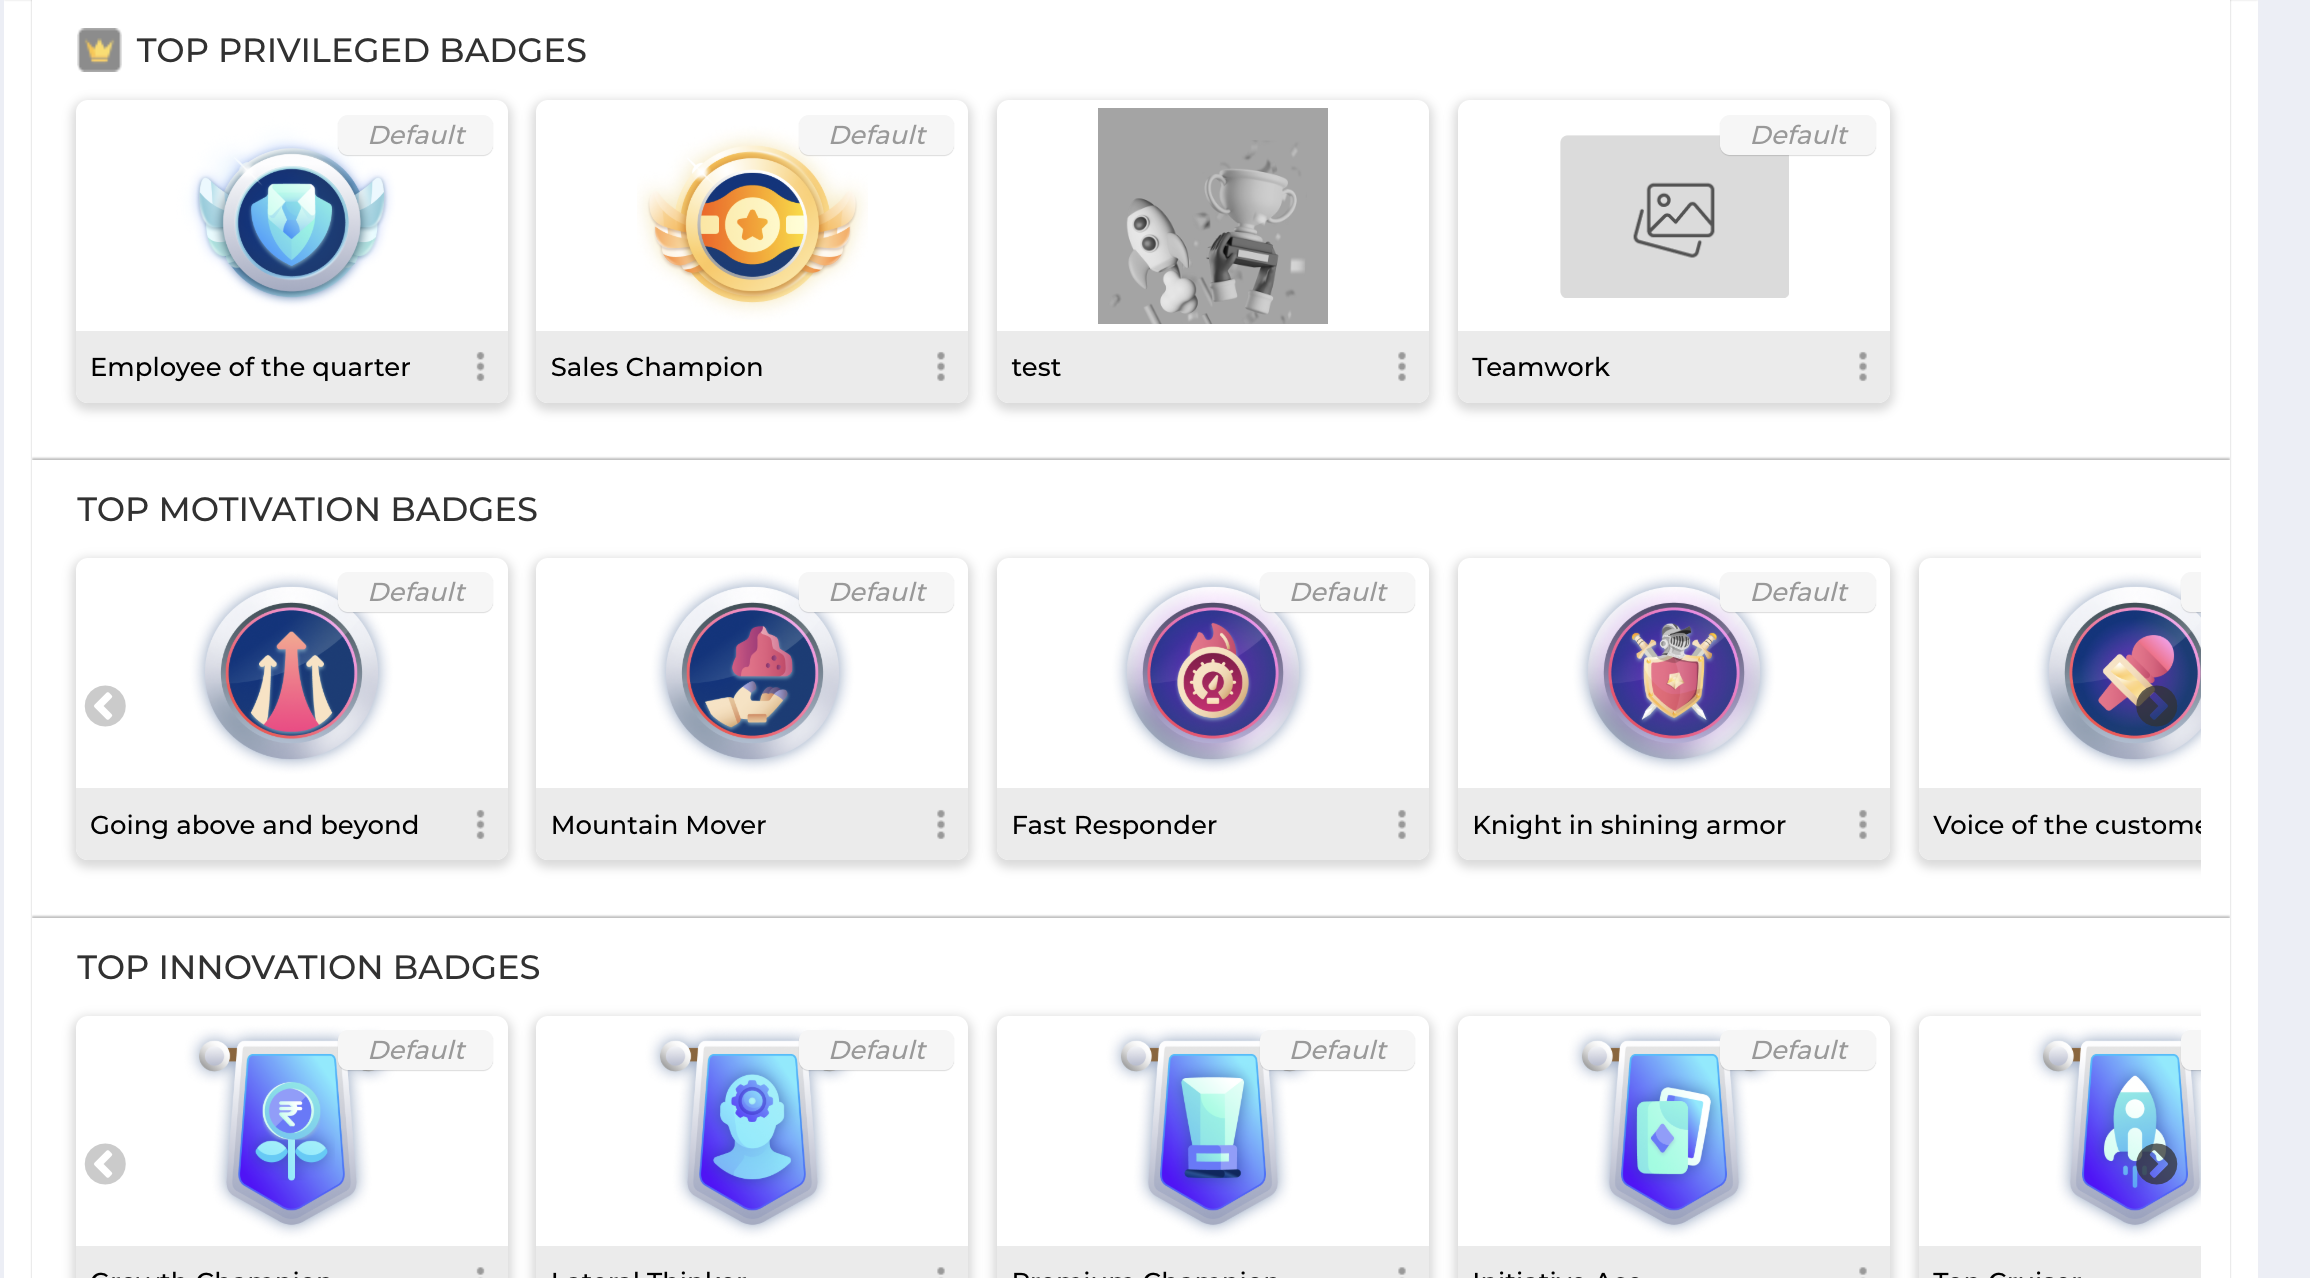
Click "All badges" to view available badges categorized by type (e.g., Privileged, Motivation, Innovation).

-

- Click the three dots on the bottom right of the badges to enable/disable badges
-
Use the search function to quickly locate specific badges.
-

-


3. Privilege Badge Setup:
-
Click "Privilege badge setup" to manage privileged badges.

- You can search for badges of a specific name using the search bar.
-
Assign access for users to specific badges by selecting "Add" and searching for users/ using the dropdown.
-
Remove access for users by selecting them from the dropdown menu and clicking "Remove."
-


4. Edit Privileged Users:
-
Click "Edit Users" next to any privileged badge to modify user access.
-
Add new privileged users by searching their names.
-
Remove users from the Privileged users list by clicking the delete icon.
-
Click "Update" to save your changes.
-


5. Upload Custom Badge:
-
Click "Upload badge" to create a new custom badge.
-
Upload a badge image (300px x 300px, max 30kb).
-
Enter a "Badge name," provide a "Badge description," and select the badge category.
-
Click "Save badge" to finalize.
Badges configured here will be available to recognize team members' achievements through personalized and meaningful recognition.